It’s important to know how to repair a tear or hole in a duffel bag if you’re an avid traveler or camper. A torn duffel bag can ruin a trip, so it’s important to know how to fix it quickly and correctly.
Because we value your time, we’ll get straight to it! Here’s what you’ll need to repair a tear or hole in your duffel bag.
Gathering Materials
Before you begin the repair process, gather the following materials:
- Fabric patch: Choose a durable fabric patch that matches the material of your duffel bag, such as canvas or nylon. Ensure the patch is slightly larger than the tear or hole you’re repairing.
- Fabric glue or adhesive: Opt for a high-quality fabric glue or adhesive designed for repairing fabrics. Make sure it’s suitable for the material of your bag.
- Needle and thread: If you prefer to stitch the tear or hole by hand, use a strong needle and a thread that matches the color of your bag. Nylon or polyester threads are good options for their durability.
- Sewing machine (optional): If you can access a sewing machine and prefer a more secure and efficient method, it can be used instead of stitching by hand.
How to Repair a Tear or Hole in a Duffel Bag – The Preparation
Before you start repairing the tear or hole, follow these preparation steps:
- Cleaning the bag: Remove any dirt, debris, or loose threads from the damaged area by gently wiping or brushing it. Clean the surrounding area to ensure a clean surface for the repair.
- Assessing the damage: Examine the tear or hole to determine its size, shape, and location. This assessment will help you plan and select the appropriate repair strategy.
- Planning the repair strategy: Based on the assessment, decide whether patching with fabric or stitching is the best approach. Consider the size of the damage, the material of your bag, and your skill level.
The Repair Methods
Depending on your chosen repair method, follow the steps below:
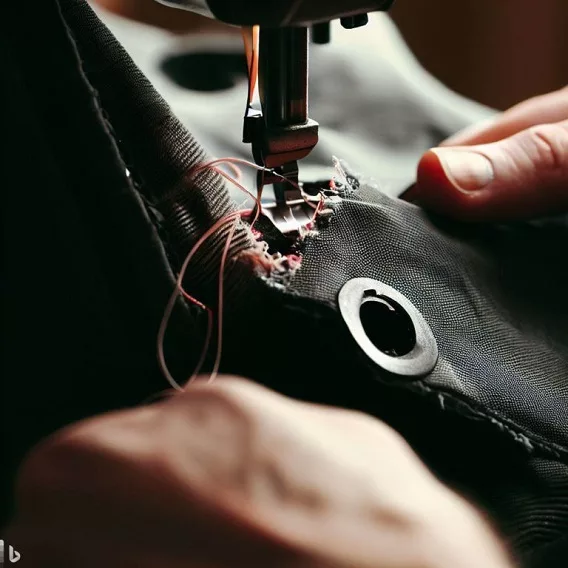
1. Patching with Fabric
- Choosing a suitable fabric patch: Select a fabric patch that matches the material and color of your duffel bag. Ensure it is slightly larger than the tear or hole you’re repairing.
- Cutting the patch to size: Use sharp scissors to cut the fabric patch into a shape that will cover the tear or hole, allowing for an extra half-inch around the edges.
- Applying fabric glue or adhesive: Apply a thin, even layer of fabric glue or adhesive to the back of the fabric patch. Make sure to cover the entire patch area.
- Securing the patch to the tear or hole: Carefully place the fabric patch over the tear or hole, ensuring it aligns properly. Press down firmly to adhere it to the bag. Follow the manufacturer’s instructions regarding drying time.
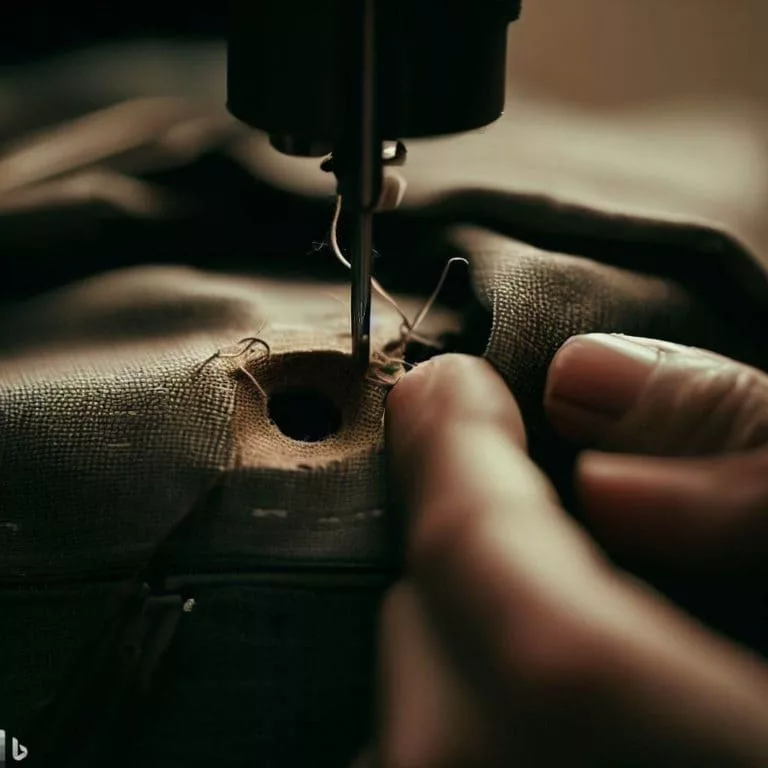
2. Stitching by Hand
- Selecting a durable thread: Choose a strong thread that matches the color of your duffel bag. Nylon or polyester threads are recommended for their strength and resilience.
- Threading the needle: Thread the needle, leaving a double-length thread for added durability. Tie a knot at the end of the thread.
- Sewing the tear or hole closed: Starting from the inside of the bag, insert the needle through the fabric just below the tear or hole. Create small, even stitches, moving from one side to the other, pulling the thread tightly.
- Reinforcing the stitching: Once you’ve stitched across the entire tear or hole, make a few additional stitches in the opposite direction to reinforce the repair. Tie a knot at the end of the thread and trim any excess.
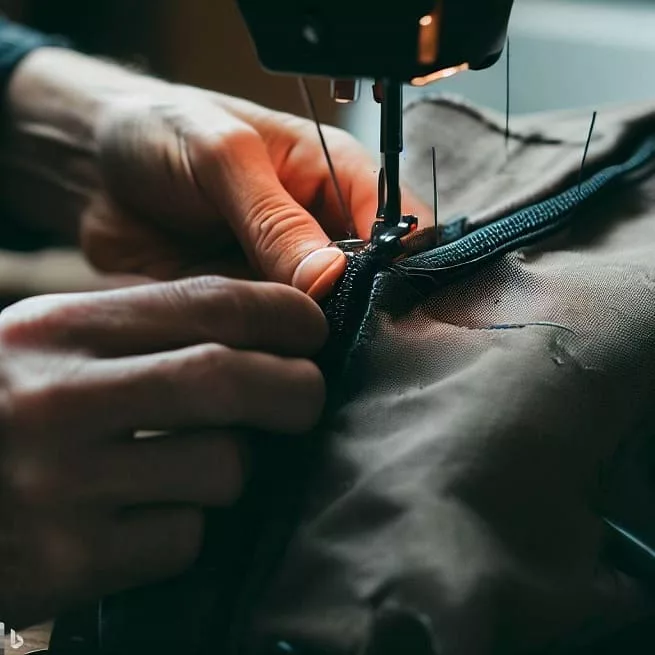
3. Machine Stitching
- Using a sewing machine: If you can access a sewing machine, it can provide a more secure and efficient repair. Familiarize yourself with the machine’s instructions and settings.
- Setting up the machine: Choose a needle appropriate for your bag’s material and thread it with a durable thread. Adjust the machine’s settings to match the fabric and stitch length.
- Stitching the tear or hole: Position the duffel bag under the machine’s needle, ensuring the tear or hole is aligned correctly. Slowly guide the bag through the machine, sewing a straight line across the damaged area.
- Finishing touches and reinforcement: Stitch a few additional lines perpendicular to the original repair line to reinforce the stitching. Trim any excess thread and inspect the repair for any loose ends.
Finalizing the Repair
After completing the repair, follow these finalization steps:
- Trimming excess fabric or thread: Carefully trim any excess fabric or thread from the repaired area to ensure a neat and finished appearance.
- Checking for additional damage: Inspect the duffel bag for any other tears or weak spots that may need repair. Addressing them promptly can prevent further damage.
- Cleaning up the repaired area: Wipe away any glue residue or stray threads from the repaired area using a damp cloth. This will keep your bag looking clean and well-maintained.
- Testing the repaired duffel bag: Test its strength and durability before gently pulling and tugging on the repaired area. Ensure the repair holds up under normal usage conditions.
Tips and Precautions
Consider the following tips and precautions for a successful duffel bag repair:
- Match the thread and fabric color: When selecting a thread, choose a color that closely matches your duffel bag. This will help conceal the repair and make it less noticeable.
- Choose the appropriate repair method: Assess the damage carefully to determine whether patching with fabric or stitching is more suitable. Smaller tears or holes can often be effectively repaired with fabric patches, while larger or more severe damage may require stitching.
- Take care of the repaired bag: After repairing your duffel bag, handle it carefully to prevent future damage. Avoid overloading it, dragging it on rough surfaces, or subjecting it to excessive strain.
Conclusion
Repairing a tear or hole in your duffel bag is a practical and cost-effective solution to extend lifespan. Following the step-by-step instructions in this article, you can confidently repair your bag and continue using it for your travels, adventures, or everyday needs.
Remember to select the appropriate repair method, gather the necessary materials, and take your time to ensure a durable and long-lasting repair.